Petrol Tank Woes

suzuki super carry fuel tank pickupI thought the fuel tank issue would be simple to fix, there’s a page on it all here. Despite fixing up all the external pipes, coating the inside with sealer and painting the outside, there is a hole in the pickup pipe inside the tank. This is drawing air in with the fuel making for a weak mix and serious problems going up even mild inclines.

To address the issue, I’ve been on the lookout for a second hand tank, however these are as rare as rocking horse droppings. My efforts to source a tank have involved reaching out to Dellboy (who has none left) and those online agencies that contact 250 breakers by email for the part you need. Not a sausage from them…

I toyed with various options like a temporary tank in the footwell for now, or even making a tank from scratch. However I need my van in just over a week as it’s holiday time! So…  I caved in today and handed over £326.11 to the local Suzuki dealer, the new tank will be with them tomorrow. Allegedly.

I’ve explained to the bank manager that I have two weeks off at Xmas so will fabricate a new tank from scratch in stainless steel of approx 48 litres. That will mean the nearly-new tank will go to someone else at a bargain £250. The old tank will be split, repaired and resealed – i’ll want around £90 for that as it costs a lot of money to paint and seal, or may just keep it for a rainy day.

MoT Passed!

IMAG0870Sooty has passed the MoT, that’s three years running with no advisories. I did, however, have a lot of cutting out on the way to the MoT station and on the way back – this was despite fitting a new fuel pump to get rid of the fuel starvation problem.

Took the tank off yesterday and there’s some corrosion on the pick up pipe which is a allowing a small amount of air to get in. Despite the large crack (it’s only on the top surface) the hole must be pretty small because the only fuel stain was on the top of the tank which is out of sight.

IMAG0879The tank has had a good wire bushing all over with a brass wirebrush (steel may cause sparks) to get rid of the flaky surface rust. The fuel level sensor has been removed but two out of the five screws holding it down have snapped off.

IMAG0880To do: Fill the tank with water before attempting to drill out the remaining two screws – everyone knows not to weld an empty fuel tank but very few think about electric drills producing sparks. The crack in the feed pipe will be fixed with JB Weld and the whole tank rust treated then painted with Hammerite. Finally, the inside of the tank will be cleaned and sealed with a Frosts restoration product.

It’s the school holidays soon and normally the van doesn’t venture far at that time – plenty of opportunity to get these types of jobs done. While it’s off I will get a drawing made of the key dimensions with a view to making a new stainless steel tank over the winter.

Engine fully built

IMAG0829The engine is now fully built, I’m just waiting for the weekend to put it back into the van.

On the technical pages you can see how it was all taken apart and fixed up, the only bit I haven’t written in the blog yet is how it all went back in.

Links: Dismantling, Repair, Reassembly

There are also a few Youtube links of me building the engine up. This uses a time lapse video and in total there is 9.5 hours of work which went into putting the basic engine together.

Part 1: https://www.youtube.com/watch?v=b_-aUr82sFg
Part 2: https://www.youtube.com/watch?v=rZEy-RdWIWY
Part 3: https://www.youtube.com/watch?v=8v5eIZDDHFI


Alternator upgrade – an update

Well the nice weather is here and my engine is in bits, so have re-visited the alternator situation. Just to recap, the Bedford Bambi uses the Mitsubishi 40 amp alternator fitted as standard and this is fine for normal use. Where it falls down is during slow moving traffic when the fridge is in use and the lights are on.

The rated 40 amp output won’t be attained until the engine gets to around 3000RPM, at tickover and just above you will be lucky to get 15 amps from it. The fridge takes 8 amps, the lights (halogen H4) around 12 amps, the ignition and fuel pump around 3 amps. You don’t need a calculator to work out that it’s a potential problem. The split charge relay will drop out and the beer will stop being chilled – clearly, an unacceptable situation 🙂

It didn’t used to bother me, indeed I hadn’t even noticed it until I started driving through Czech Republic, Poland and Italy. For many countries in Europe it’s mandatory to have dipped headlights on at all times.

Anyway, the current status was I had upgraded the wiring and fusible link to take the bigger alternator (the existing wiring does not have the capacity for an upgrade). I’d bought a 70A alternator from the scrappies off an older Peugeot 106 as it seemed to tick all the boxes. All I was waiting for was some nicer weather to go and fashion some brackets to hold the replacement alternator on.

The little Peugeot alternator I bought from the scrappies didn’t look to healthy so I decided to buy new one. Now I have a choice of anything I want, the spec was left hand mounting, 70A or thereabouts and bolt terminals rather than spade. I now possess a Lucas / Magneto Marelli clone alternator with 75A peak output for only £55 (brand new, not exchange, incl. delivery).

This will give 75A output and will match the maximum 40A output of the old alternator without going much above tickover giving enough juice to ensure the fridge always works and the leisure battery gets a decent topup. The A127 is one of the most popular alternators in the UK so replacements should not be a problem in years to come.

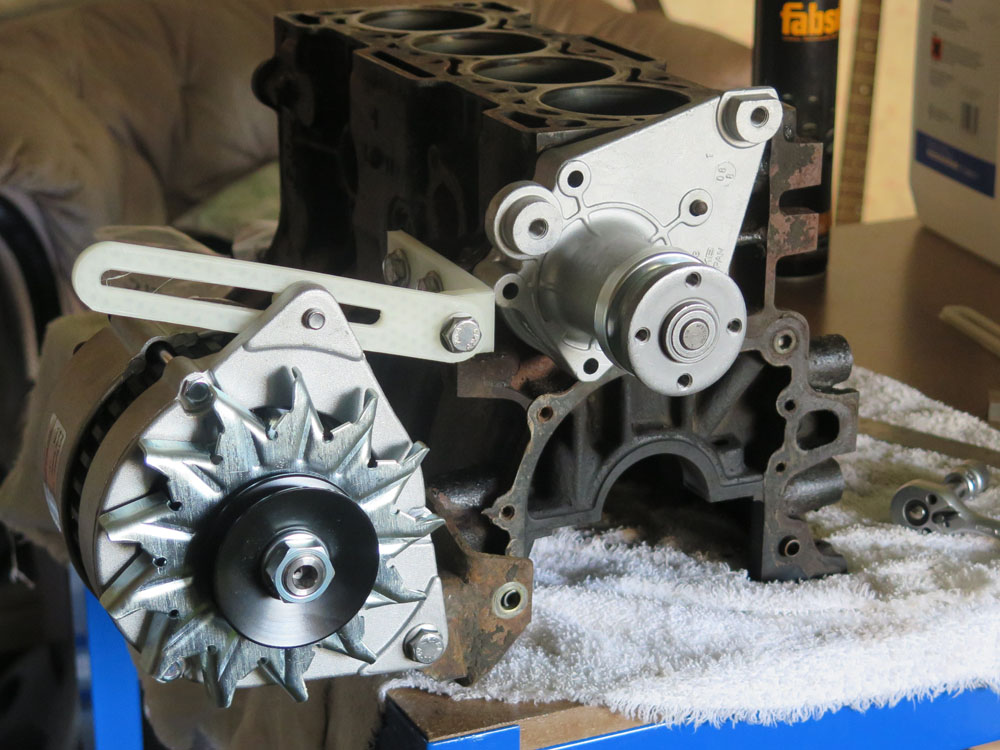
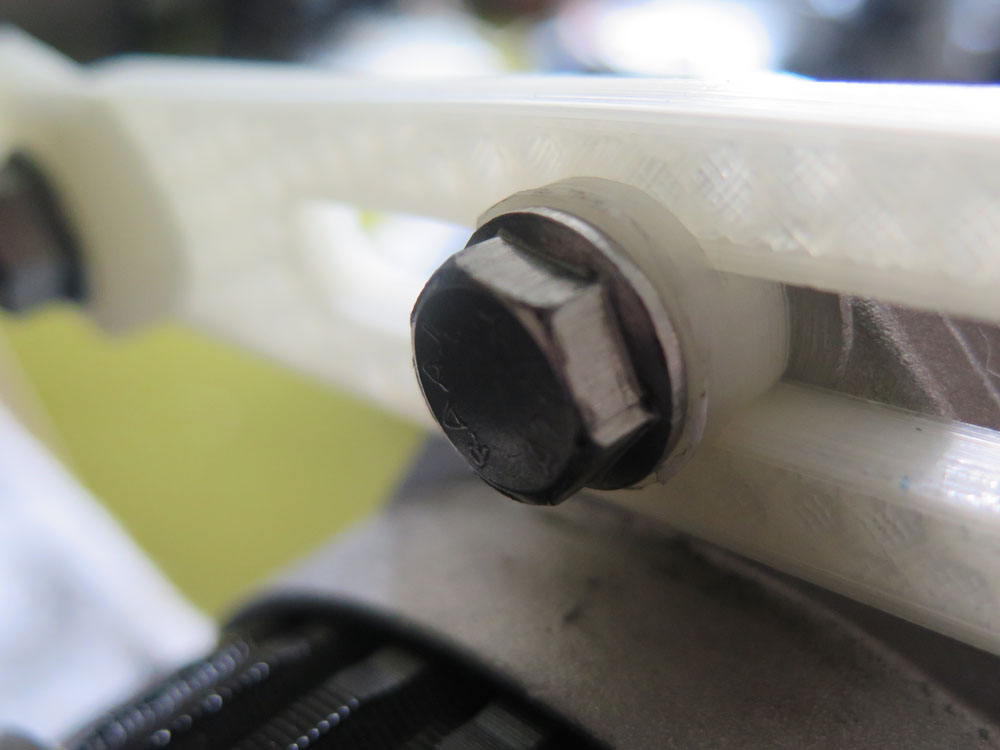
So…. just some brackets to make. I did some drawings a while back for a revised bottom bracket but have now decided to keep that and change the top bracket instead. There should be some pictures below showing the new bracket, link arm and slotted washer which hold the new boy in place. These were made in plastic (PLA) on my home made 3D printer just to get the idea and spacing right. I’ve got some 1″ x 1/4″ mild steel flat on its way to me so should be fabricating the real brackets in the next week or so.

The only other mod required is at the rear mounting, the alternator is deeper than the original so it’s shy of the bracket by around 15mm. I can weld a spacer to the rear of the bracket to sort that one out. It can be cut/ground off if I want to go back to original for any reason.

img_0407_general

img_0408-rear

img_0411_washer

img_0410_lower

Engine update

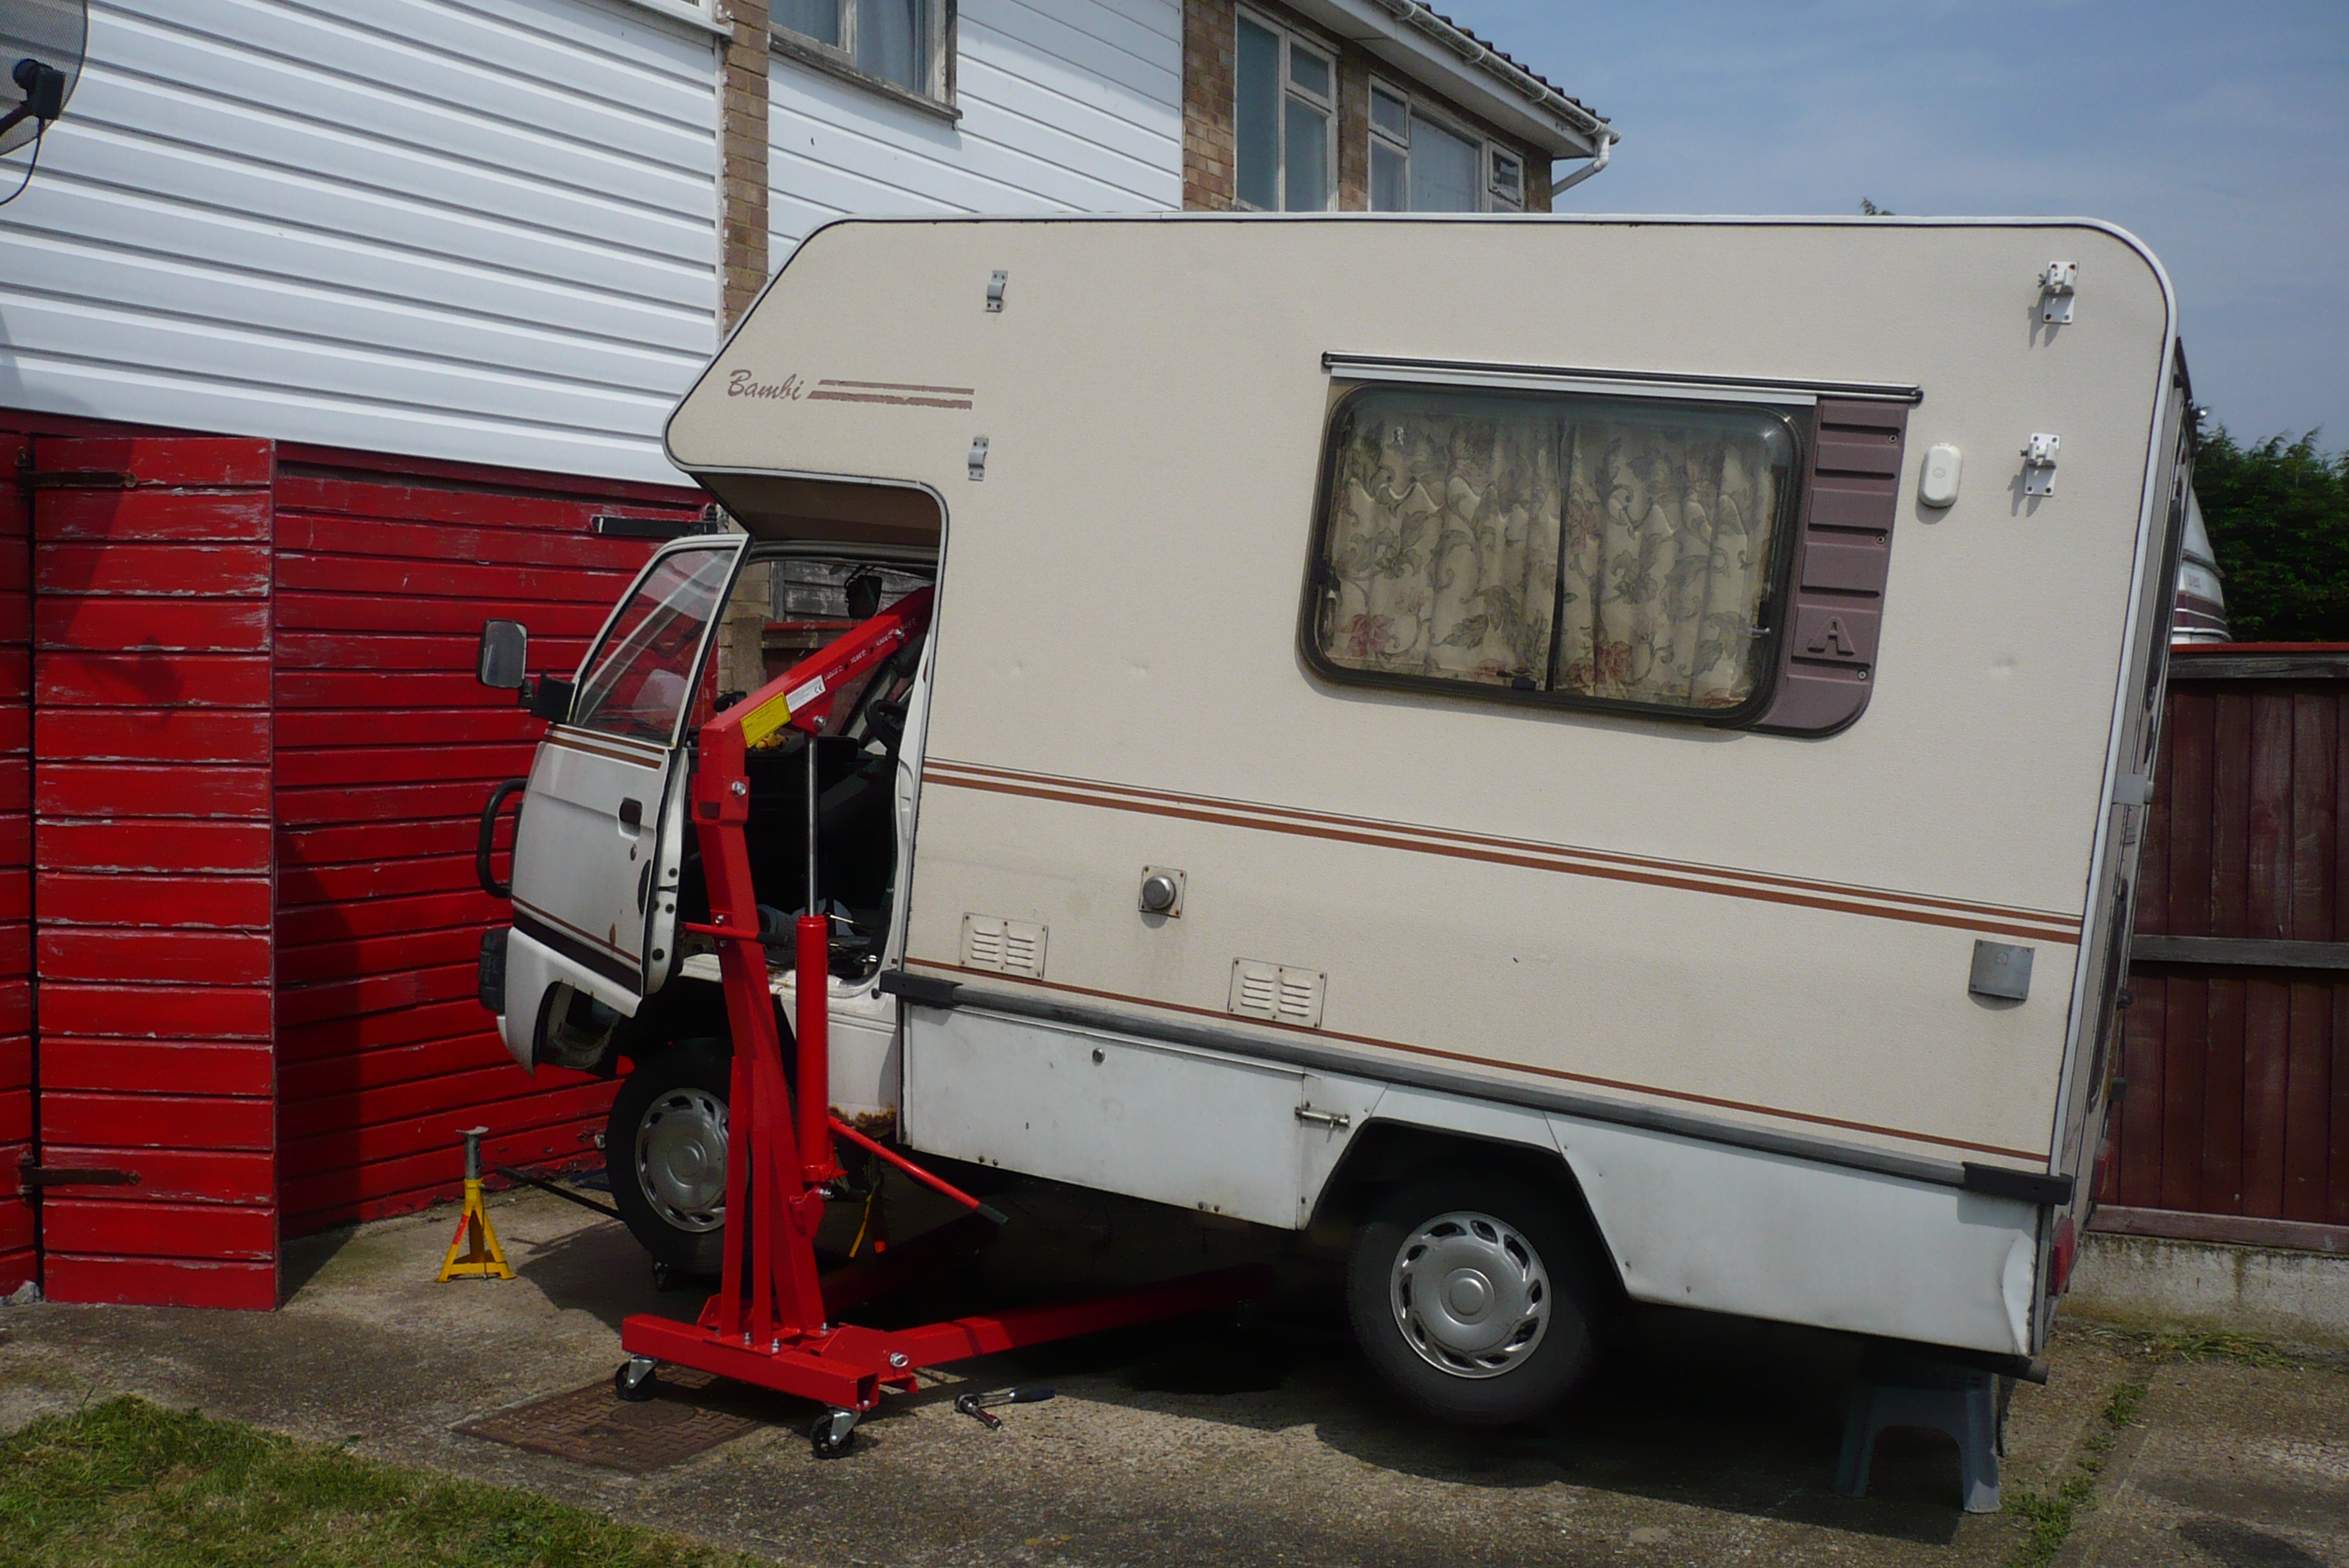
P1020726Well what a job. I used an engine crane to lower the engine but it’s really hard to get in there while there are jacks and stands underneath, the passenger door gets in the way. I think the crane turned out to be more of a liability than a help so I will just sell it on.

To be honest the engine and gearbox are not that heavy so I will work out a different way of getting it back in again not involving the crane.

P1020732The whole lot slides out under the side of the van where the gearbox can be removed. It’s a lot easier to separate the gearbox on the drive – I’ve had the gearbox off twice before and it’s not a fun job getting it back on single handed.

Anyway, I’m relieved the engine is out. Now starts the laborious job of dismantling, cleaning and inspecting every part of the engine.

P1020734To make life easier I’ve bought a second-hand engine stand off eBay for £36. This allows you to spin the engine round making it easier (and safer) to work on. Once I’m done, I will sell the stand the same way I acquired it so hopefully won’t lose much money on it.

Anyway, I have an engine to take apart now so may be gone for some time…

Engine Out!

IMAG0786It’s the Bank Holiday weekend, the garage has been tidied up to give me some room room, and it’s now time to get the engine out of the Bambi.

The engine, allegedly, comes out from underneath so the van has to be jacked up quite high. I’ll do all of the dismantling work then use an engine hoist to lift the front of the van up. The number plate has to come up at least 0.8 metres from the floor to pull the engine out from the side, think I can just about manage that.

All the connections to the engine are now removed so I’ll wrap up for the day. Tomorrow is the Bank Holiday Monday, just a few bolts to undo and it should all drop out.


3D Printing

Having knocked up a home made 3D printer, I’ve been putting it to good use on the Bambi.

IMAG0567_edited-2It seems that every time I open the cupboard above the cooker, a coffee jar or glass pepper grinder falls out and hits the hob. I haven’t succeeded in smashing a jar yet, but there are numerous chunks missing out of the enamel where high speed contact has been made.

A small plastic basket (imagine a linen basket about 8 inches long) seemed to contain things but it was ugly and the items still moved around. Enter the 3D printer – some dimensions were taken from Heinz ketchup, HP sauce, my favourite Nescafe 100 gram coffee jar and so on and fed into a Computer Aided Design package.

IMAG0778_edited-1After a few hours grunt, the 3D printer turned up the goods and produced something which was made to measure. Two containers; a round one, and a square one to ensure a good fit for the various condiments I carry around. Neat, eh?

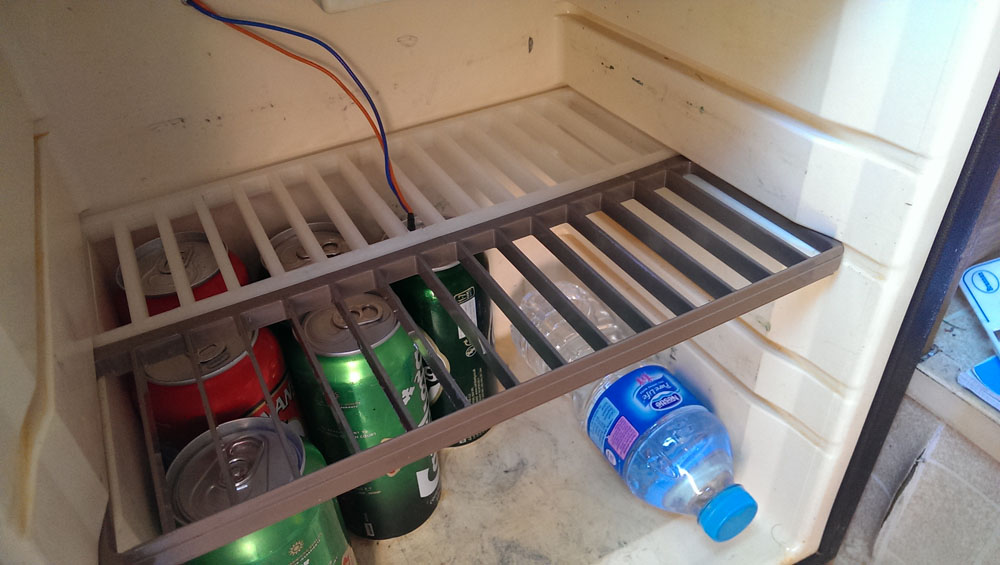
It didn’t stop there. While on the Ireland trip, the bad roads did cause damage to various parts of the van. One of the victims was the rear shelf in the fridge which had basically snapped down the middle. It had been repaired before with epoxy, but basically it was too flimsy for the beating it had taken.

Out came the ruler and the CAD package and before too long I had another shelf, this time with a much sturdier design.

Poor Sooty van

The Ireland trip has taken the toll on the Sooty van . A couple of relatively short trips to Thetford revealed that the head gasket had gone. The engine is also quite worn having done nearly 100,000 miles in at least 15 different countries with the added abuse of 18 previous owners.
I have to build a new engine for the van, that will keep me occupied for the next few weekends 🙂

Ireland – Summing up

I’ve been back nearly a week and had time to reflect on my trip.

I can’t single out a selection of good points because there were just so many. The craic in Killarney, the peace of the West side, the renewed life in the North after years of the Troubles. If there was any downside, I guess that Dublin didn’t move me much – it’s like any other sizeable city but that doesn’t make it a bad place. Also, the state of the roads in the South West was grim in places.

Some did wonder how much fuel was used and so on. Total mileage was 2,074 with the van taking a total of 15 fuel stops. 328.12 litres were consumed, that’s 72.18 gallons in English, at a total cost of £439.04 once the Euros were converted back to pounds. Average MPG was 28.74. Petrol is cheap in Ireland, and diesel even cheaper.

All the posts below have been added to a blog page and put in the right date order.

Day 17 – Dublin

IMAG0755Well here it is, the last sight seeing day of the holiday, as tomorrow I head back to Essex. What better way to start the day than a trip to the Guinness Storehouse.

This is an 8 storey exhibition which details the history of Guinness, how it’s made and a couple of “sampling” floors. The fourth floor is where you can receive training in how to pour the perfect Guinness. There is an extra cost for this, but you do get a certificate.

IMAG0756At the 7th and highest floor in the building there is a bar with almost a 360 degree panoramic view of Dublin. It is also here where you will get your complimentary pint of Guinness or soft drink which is included in the €16.50 entrance fee.
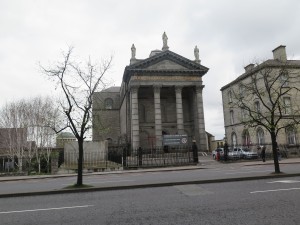
IMG_0392On the way back from the brewery to the town centre, I spotted this small church which has had a front built in a Greek style. Many buildings in Dublin feature this type of architecture.

There are literally hundreds of churches in Dublin of all different persuasions, this particular one is Saint Audoen’s which is a Polish Roman Catholic church.

IMAG0758Back in the town centre, I had some lunch and noticed that not only had the rain stopped, but the sun was out. There’s a park called Saint Stephen’s Green which is quite a good size considering it’s right in the middle of a large city. I made use of the park to rest my legs for a little while, having covered a few miles by this stage.

IMAG0759I decided to go and visit Maplin on the other side of the river to get some wire and crimps in case I had to do emergency repair work on the van electrics. “Where are you going” said the Garda. I told him Maplins; he told me I couldn’t go through and instructed me to walk to the next block and dog leg back.

The police tape, large numbers of Garda and the flowers laid against the wall did not paint a good picture. Was this one of the drive by shootings I had heard about? Not so – a BMW car had collided with a tram this morning, then collided with a pedestrian, killing her in the process.

IMAG0761My next port of call was nearby O’Connell Street which appears to be the main drag in this town.

I wanted a tour of the GPO building as it’s such a lovely place, but I could only find counters selling stamps and the like.
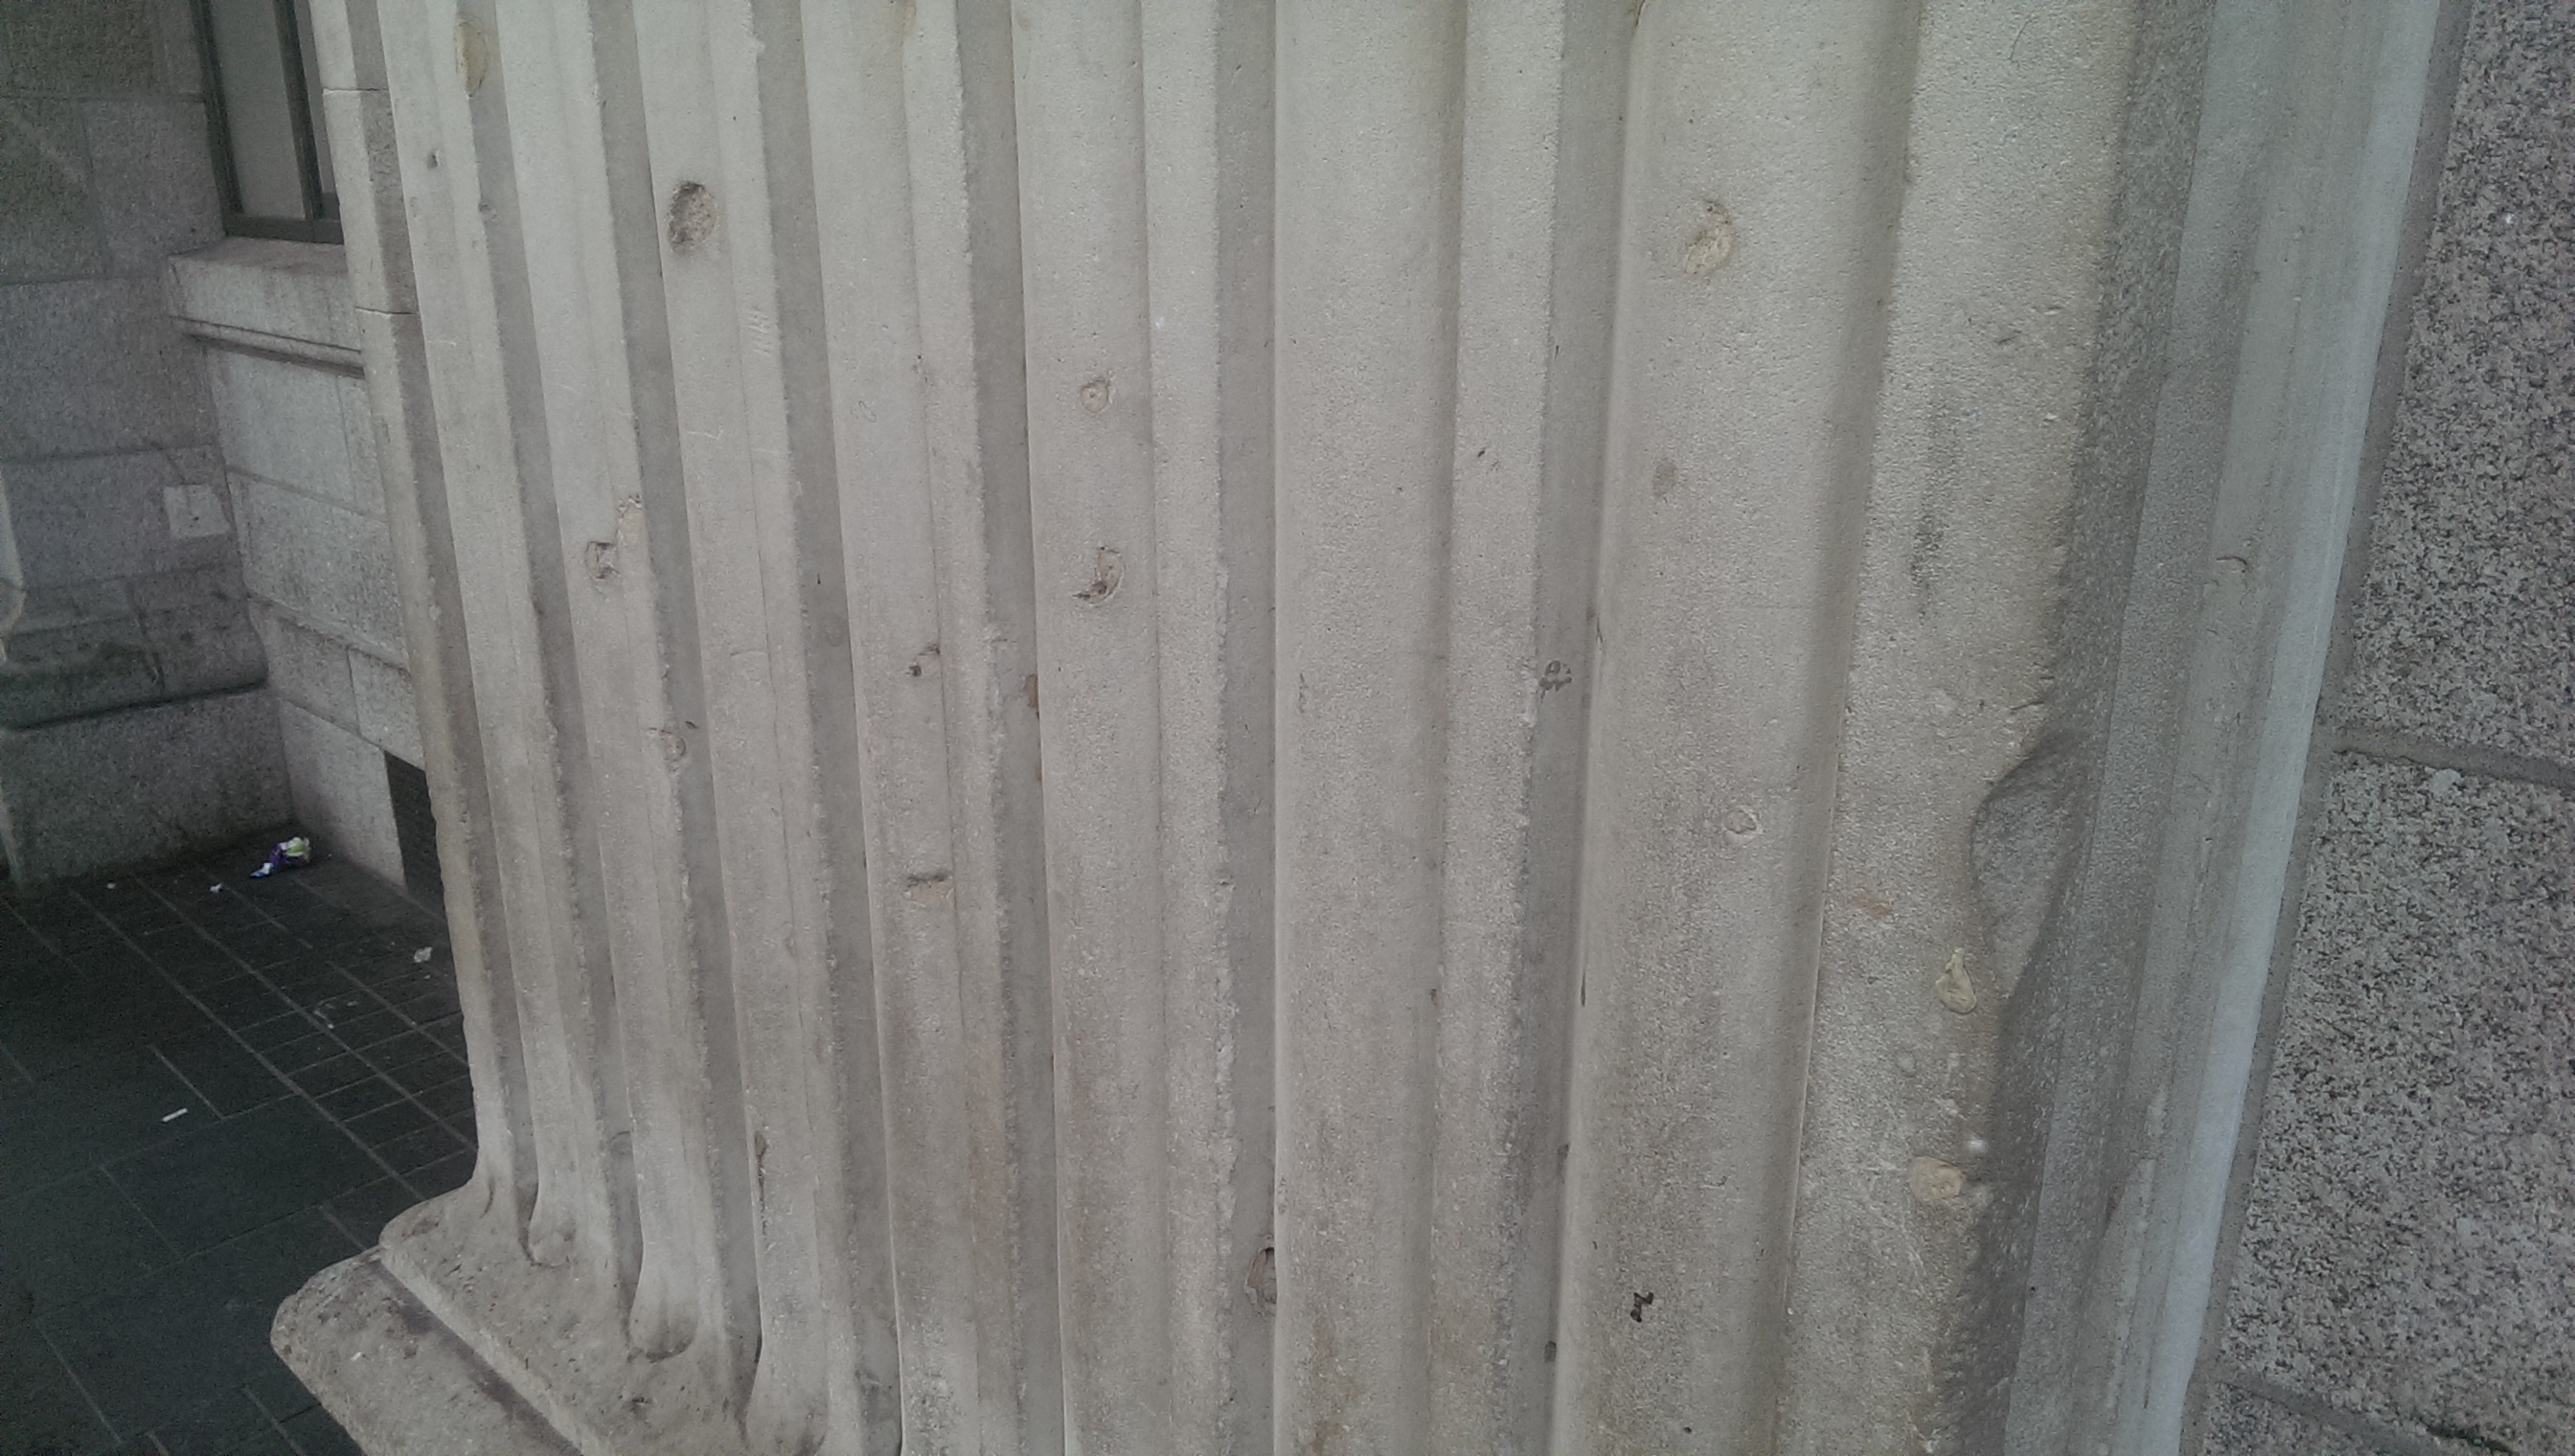
IMAG0760This building was very badly damaged during the Easter Uprising in 1916, repairs were not completed until 1929. I knew from a colleague in Northern Ireland that many family records were destroyed in the ensuing fire, wiping out a large part of history for families both North and South of the border.

Damage can be seen on the column where the bullet holes have been filled, some more successfully than others. These small snippets of evidence do give a powerful reminder of how turbulent Irish history has been.
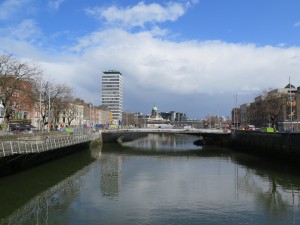
IMG_0393Walking back across the Liffey I headed for the parliament building and the next door Irish History Museum. “Not Open on Mondays”. Oh!

While pondering where to visit next, it started to rain quite hard. I visited one of the many Dublin Cafe’s to grab a coffee and get some shelter from the foul weather. It did let up but not by much, it being 3PM I decided to declare the sightseeing over for the day.

I used up a lot of shoe leather and got a free pint of Guinness, so it didn’t turn out to be such a bad day.

IMG_0394Back at the site, I’m listening to the rain beating down on the van, and carrying out the final preparations for the trip back tomorrow.

Lots of boring jobs like making sure everything is secured and perishables are thrown out. It saves me a lot of running around early in the morning.

There’s around 330 miles to cover with my ferry leaving quite early. Hopefully the remainder of the journey will be completed without event, marking the end of a successful tour of Ireland.